Guitar Of The Month – March, 2021
Congratulations goes out to Rick Horwath for his guitar build, to earn him Guitar of the Month for March 2021.
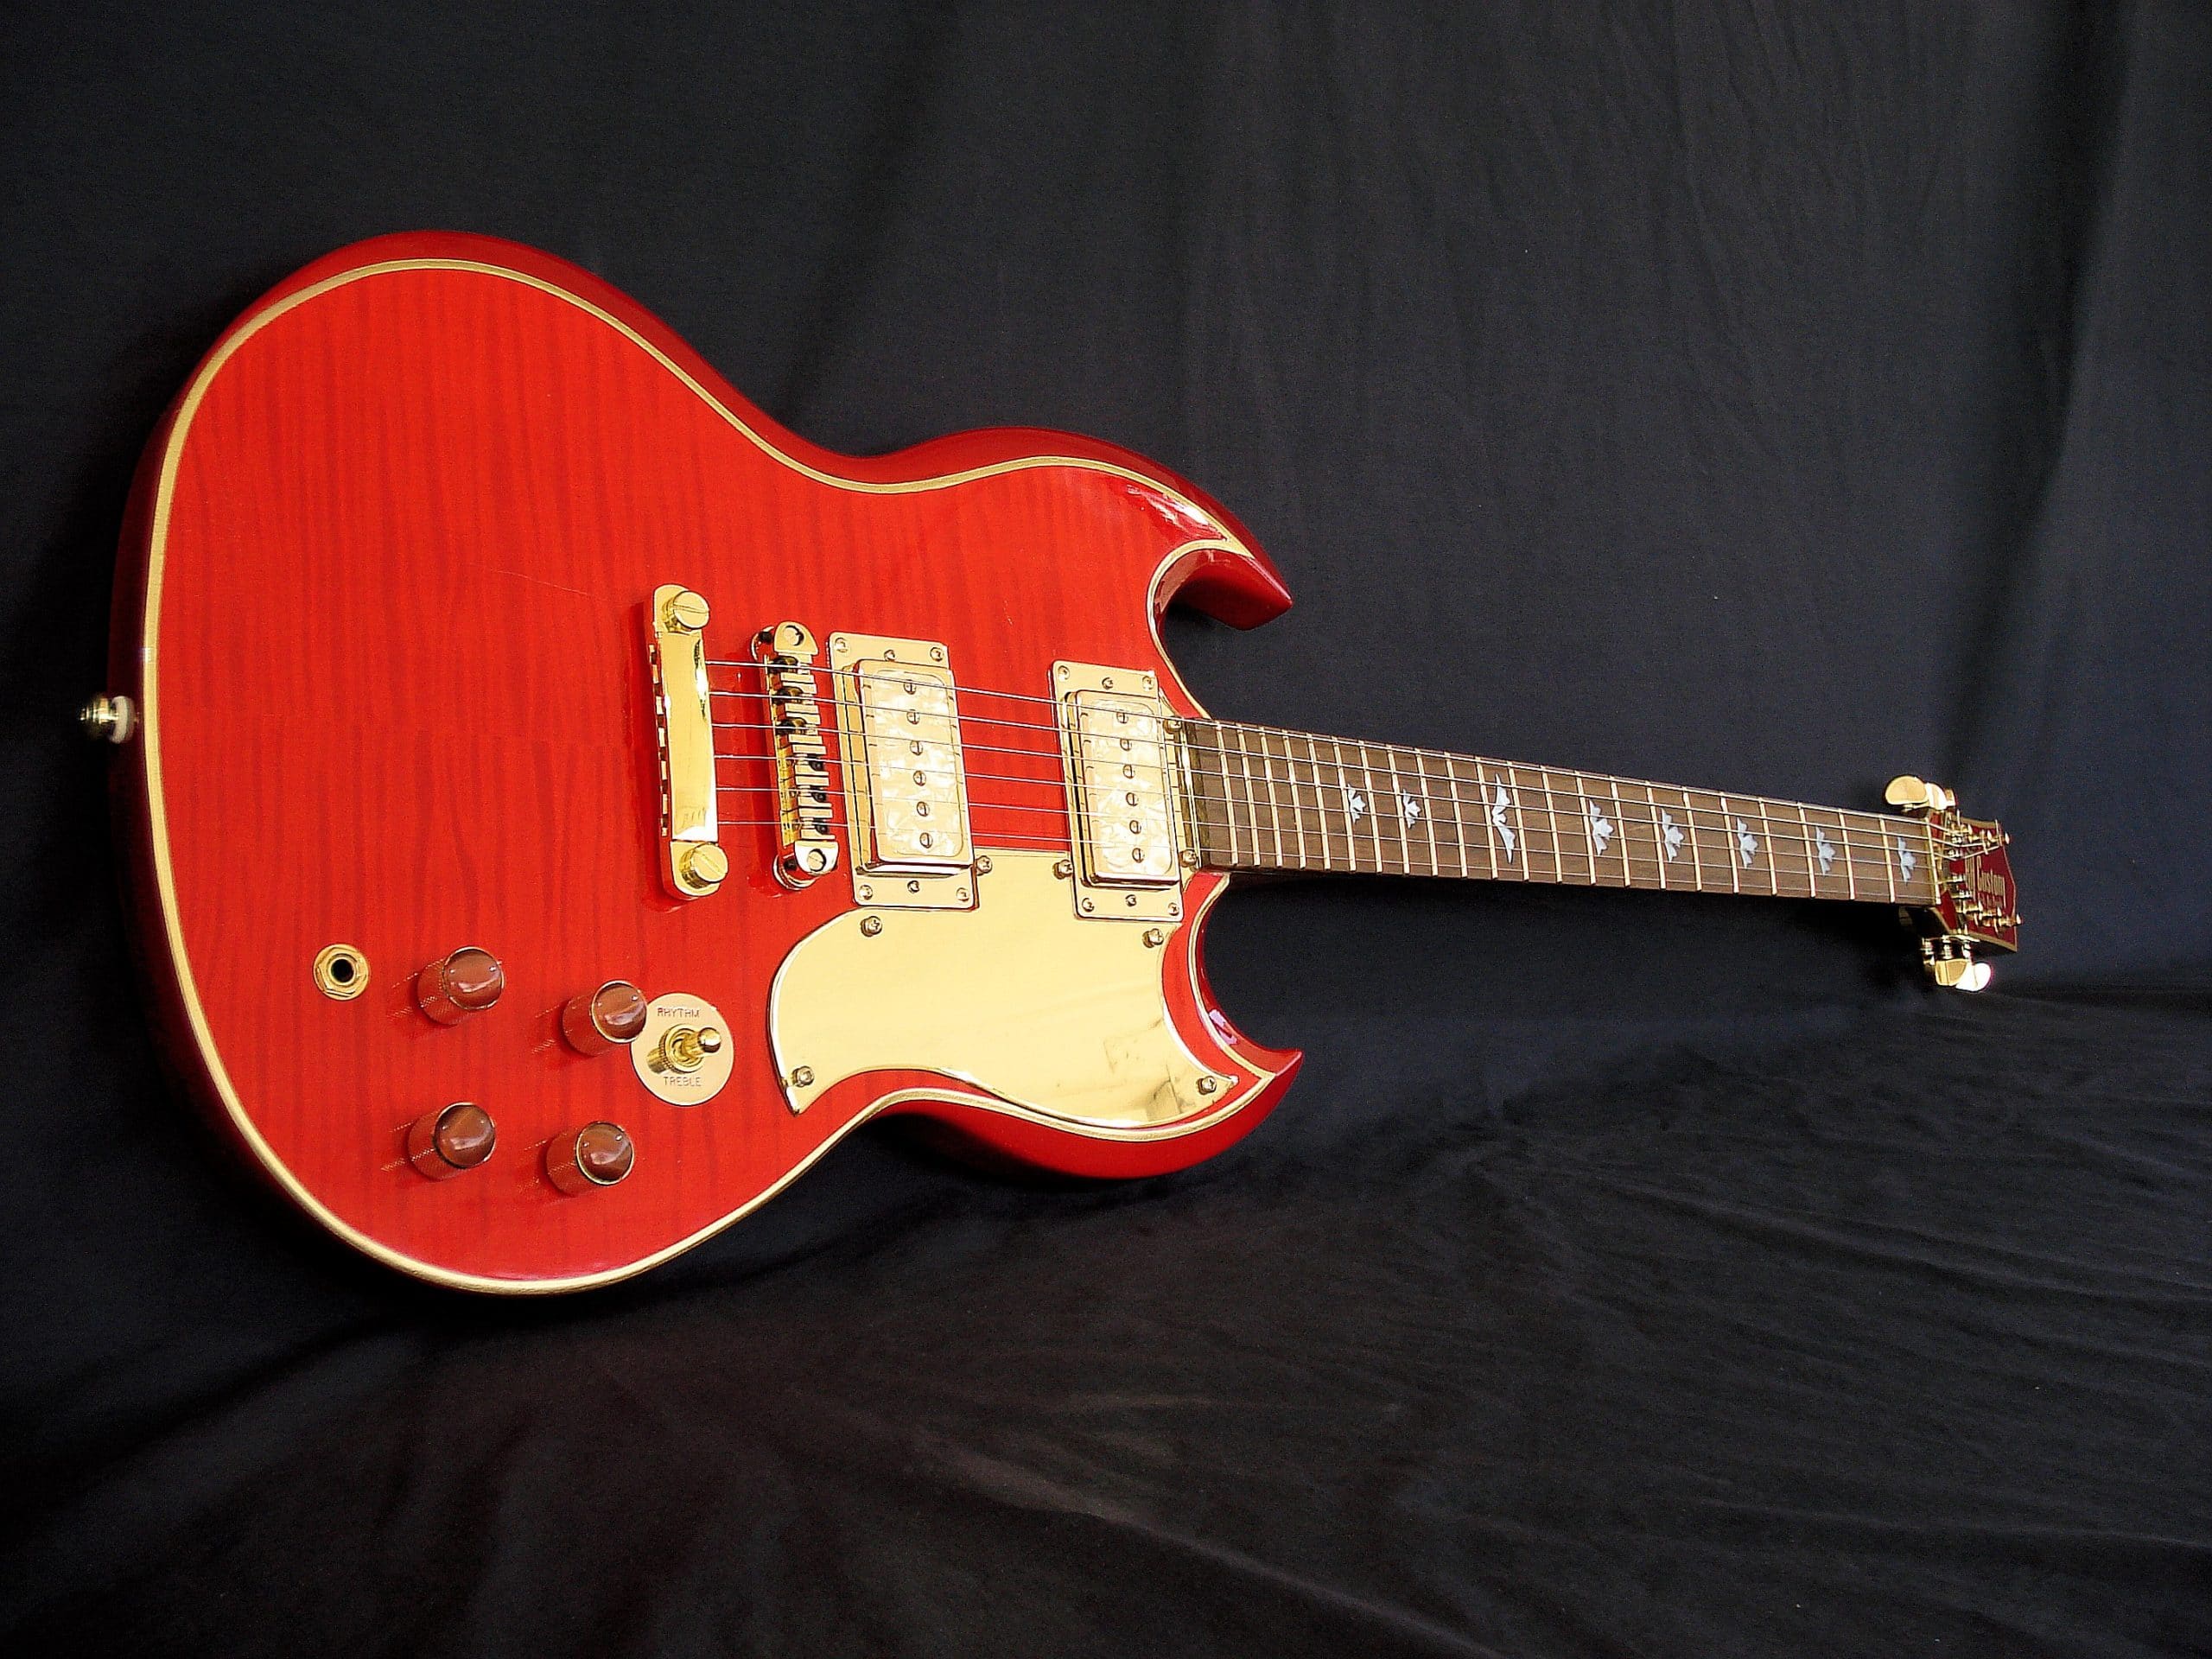
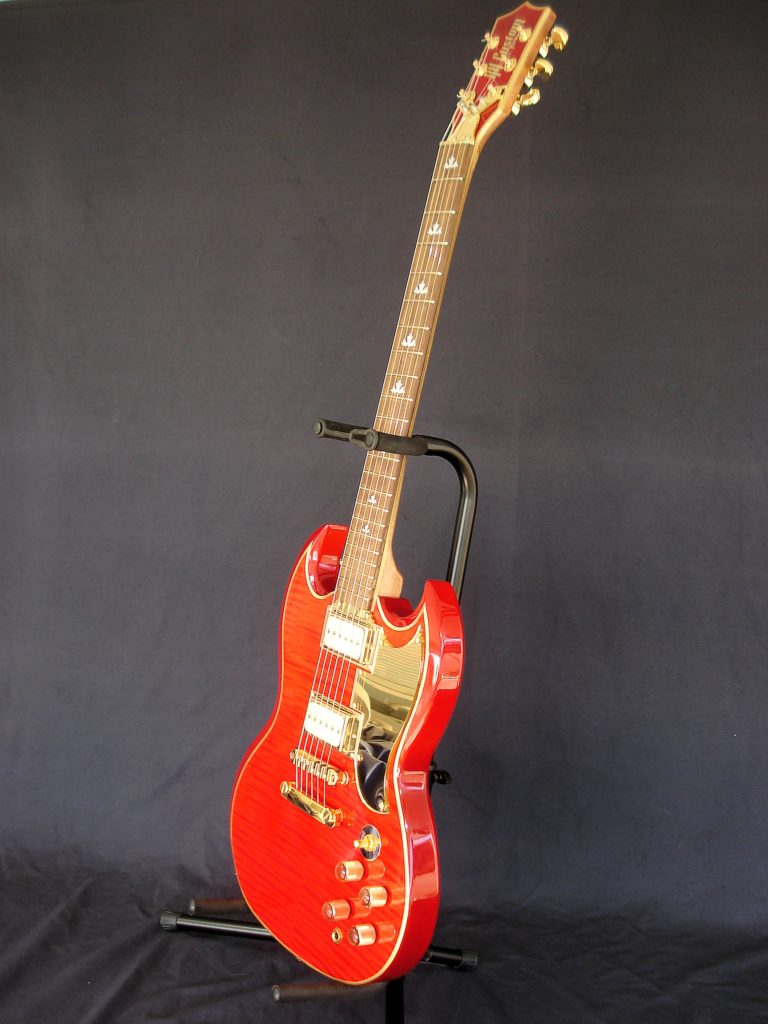
Rick used our SGK-20 DIY kit as the basis to create his guitar.
“After a successful build of a Solo Guitars GFK-10, (had it really been two years?), I decided to get started on the Solo Guitars SGK-20 guitar my wife got me for Christmas. In the interim, there was a family room remodel to finish up, a patio table to build, and, of course, COVID-19. Then a round of unemployment, then being re-hired when many people were losing their jobs made me decide to enjoy life a little more. Working from home gives you little snippets of time to work on the guitar in between assignments. It’s not for everyone, though.
Having a concept of the completed guitar is important, as it will guide the process throughout the build. Since the hardware would be gold, I researched and purchased the hardware required.
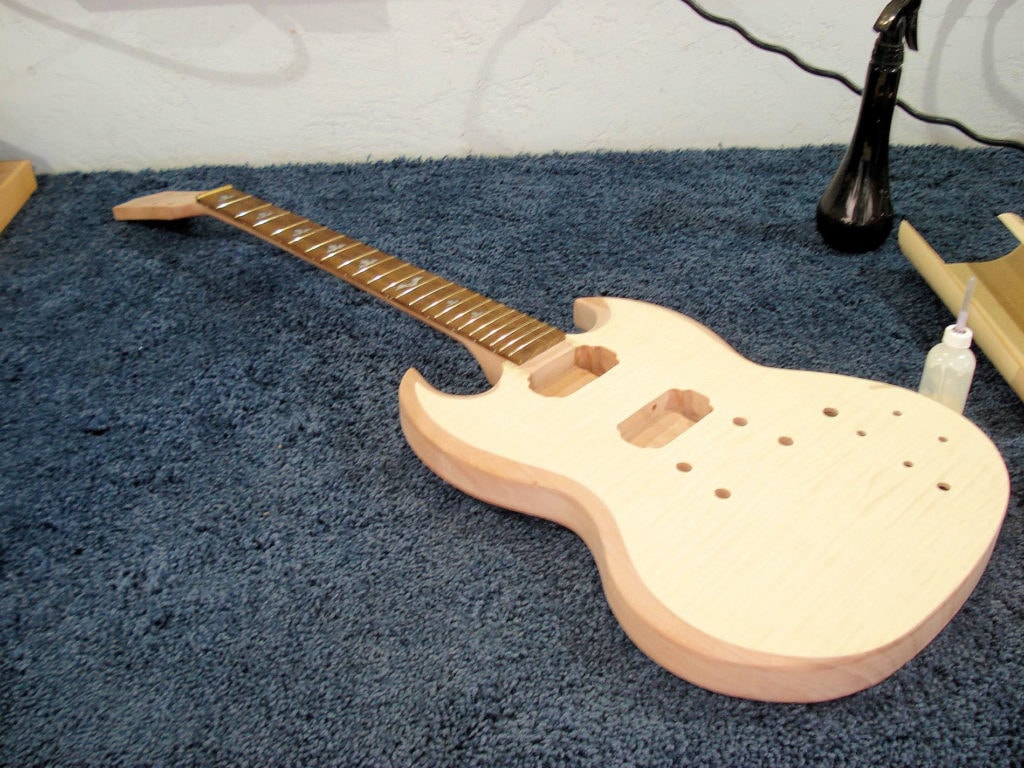
I started by inspecting and test fitting all guitar components. Once I was satisfied with the fit, the next step was to replace the frets. There is nothing wrong with the frets supplied, Solo Guitars does a great job with the finish of the stock frets. They didn’t fit in with my concept of the final look of the guitar, however, so they were changed out to gold alloy frets. This is a time-consuming job, and you need the right tools to do it properly. The nut was changed out to an instrument-grade brass nut, made specifically for the LP and SG style guitars. The shape of the top of the headstock was not symmetrical, so a spindle sander was used to re-shape the top of the headstock.
The next step was to make the new pickguard, neck joint cover and truss rod nut cover from gold mirror plastic. These steps require the creation of wood templates, cutting the plastic to rough shape, then using a trim router with flush-cutting bits to finish the shapes, then sanding and polishing the edges to a glass-like finish.
Once the frets and nut were done, the neck was assembled to the guitar body. Using a combination of woodworker’s clamps and 3/8-inch surgical tubing, the neck was installed and aligned, and allowed to cure overnight.
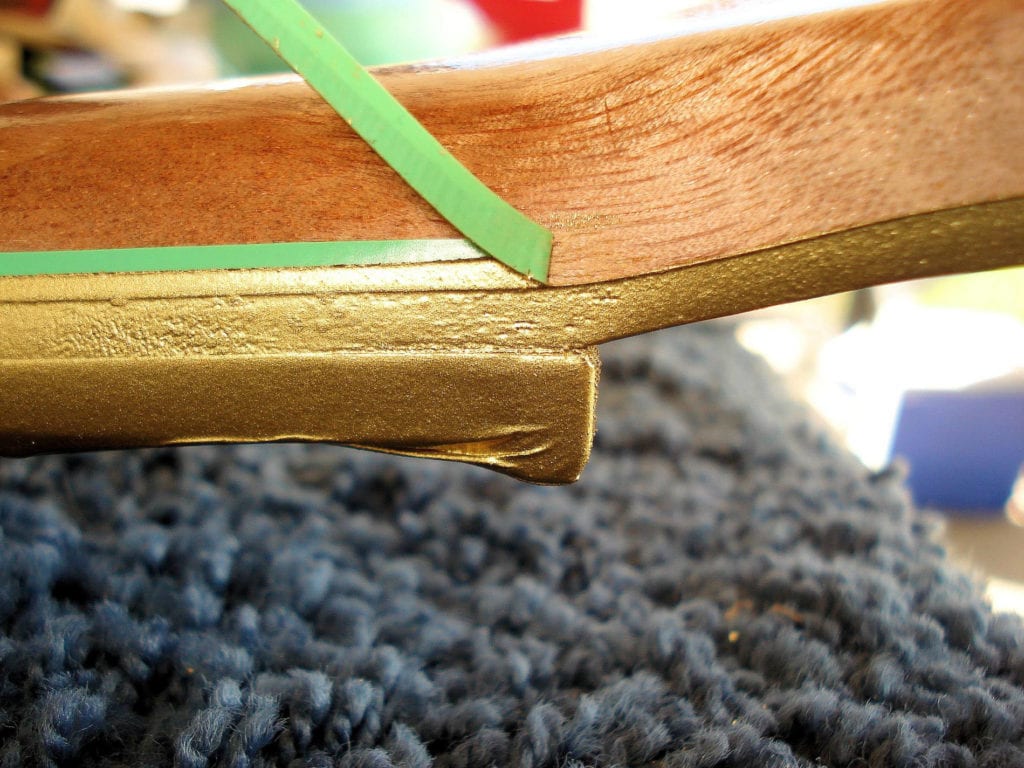
The body and neck were then sanded down, starting with 150 grit, and finishing up with 600 grit sandpaper. The exception to this was the flame maple veneer, which was sanded only with 150 grit to leave the grain open enough to accept the red aniline dye that would be applied to the flame maple. Various widths of masking tape were used to protect the different surfaces during the application of the finish. As the layers of finish were applied, the tape was removed and re-applied in other configurations as required for the final finish. This is especially true of the gold striping, using layers of 1/8-inch vinyl masking to create the exact width of the stripe I wanted.
After the application of white vinyl sealer and the color coats, three layers of clear lacquer were applied. Once these clear coats were applied, the custom-made headstock decal was applied. There are many vendors on eBay that will work with you to create the decal look you want.
The clear coat was built up to 17 layers, then the guitar was allowed to set for 21 days to let the lacquer harden. The lacquer was level-sanded, starting with 400 grit wet-or-dry, and working my way up to 2000 grit wet-or-dry. Using various levels of polishing compound, the finish was brought up to a mirror shine using foam pads and a corded variable-speed reversable drill motor.
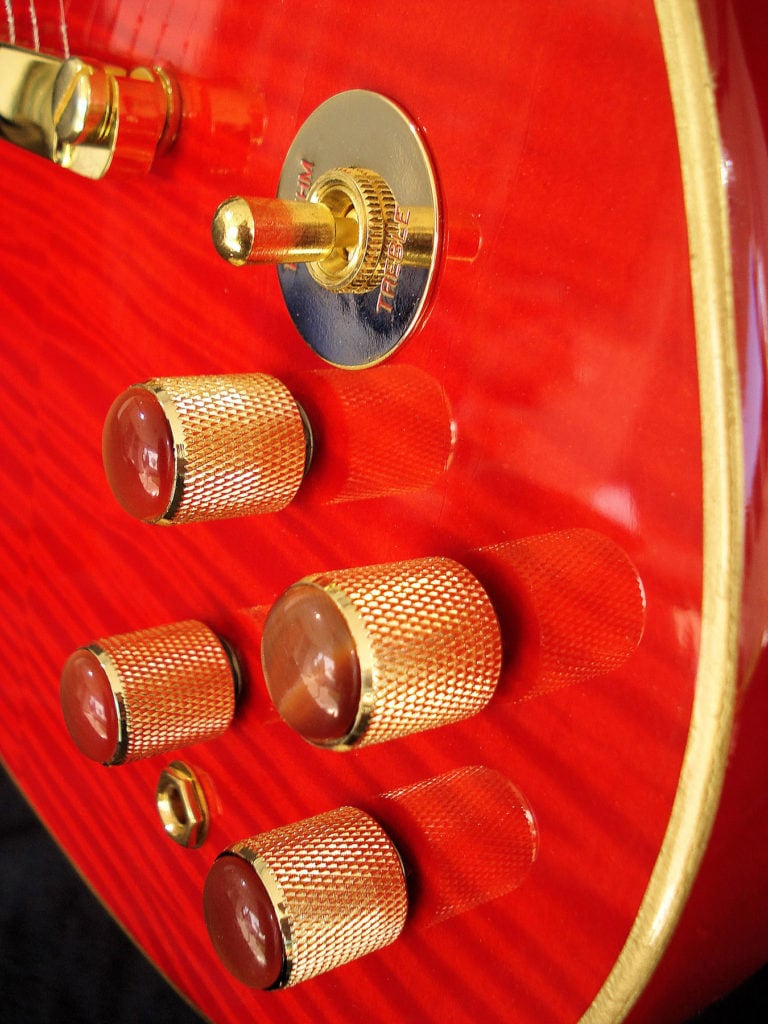
The electronics were installed and tested, then the final set-up of the strings and nut were performed. Intonation was set, using the new roller-type bridge, and the guitar plays great.
Sure, mistakes were made, and there were some go-backs to correct issues that arose in the finish, but that’s how you learn. You add that experience to your bag of tricks for your next build. I figure a few more guitars and I should be an expert. I’m looking forward to my next build, the Solo STK-12.”
-Rick Horwath
Rick also sent us a 622 page pdf file with pictures documenting literally every step of the build. This 200 meg document was beyond amazing and is available for download here. It’s truly amazing!


5 Responses to “Guitar Of The Month – March, 2021”
Absolutely stunning, right down to the string butler. Especially love the headstock decal. Great job!
Beautiful! I’d love to know about your sanding of the veneer as I have a LP kit with spalted maple top from Solo that I’m going to build with my son. He wanted a red transparent top but I was advised (not by Solo) that I shouldn’t sand the veneer because it’s too thin and I’d likely sand through it. What’s the secret 🙂 ?
You will want to dry sand the veneer, starting with 320 grit wet-or-dry. It’s not as aggressive as regular 320 grit. Part of the trick is knowing when you’ve sanded off the protective coating. Sand in small sections. I use a ruler and #2 pencil to finely map out a grid on the veneer. Light pencil lines only. Wrap the sand paper around a wood block, say 3 inches by 1.5 inches by 3/4 inch. Now, start sanding in one section. Sand lightly. Then use a fine mist spray bottle, (Amazon or a local beauty supply), with distilled or RO water to lightly cover the sanded area. If the water beads up, there is still protective coating there. If the water soaks in, you’ve got all the coating off. Once the whole veneer is done, allow to dry overnight. Then lightly finish off the veneer with 600 grit wet-or-dry, dry sanding only. Then use a damp cloth to wipe down the veneer. Once dry, you’ll feel wood fibers sticking up in the veneer. This is normal, the wood fibers are curing up from the dampness. Lightly knock off those wood fibers with 800 grit wet-or dry, dry sanding only. The veneer is now ready to take whatever finish you decide to apply. These same steps can be used to prepare the rest of the guitar body and neck as well. The PDF referenced above shows many of the steps used on my guitar. Let me know if I can be of more assistance.
WOW! So cool. I’ve been looking to buy an SG, but I think I’m going to build. This gave me inspiration. Thank you and a job very well done!
For those of you who are interested, I get my headstock decals from George Charles, email [email protected], located in the New York area. He will send you a price list that is very comprehensive. He has a wide variety of fonts available. Be prepared to supply him with the exact dimensions of the decal you want. A single sheet of decal will have four of the requested decals, plus various smaller decals declaring “Made in USA”, “Original Custom Made”, “Original Custom Made in the USA”, “American Made”, and “Original Handmade in the USA”. He will send you proof sheets of the decals before they are final printed. The decals are high quality, and they will arrive with a full instruction sheet on how to carefully apply them. I’m very happy with the quality and response from him.