







Description
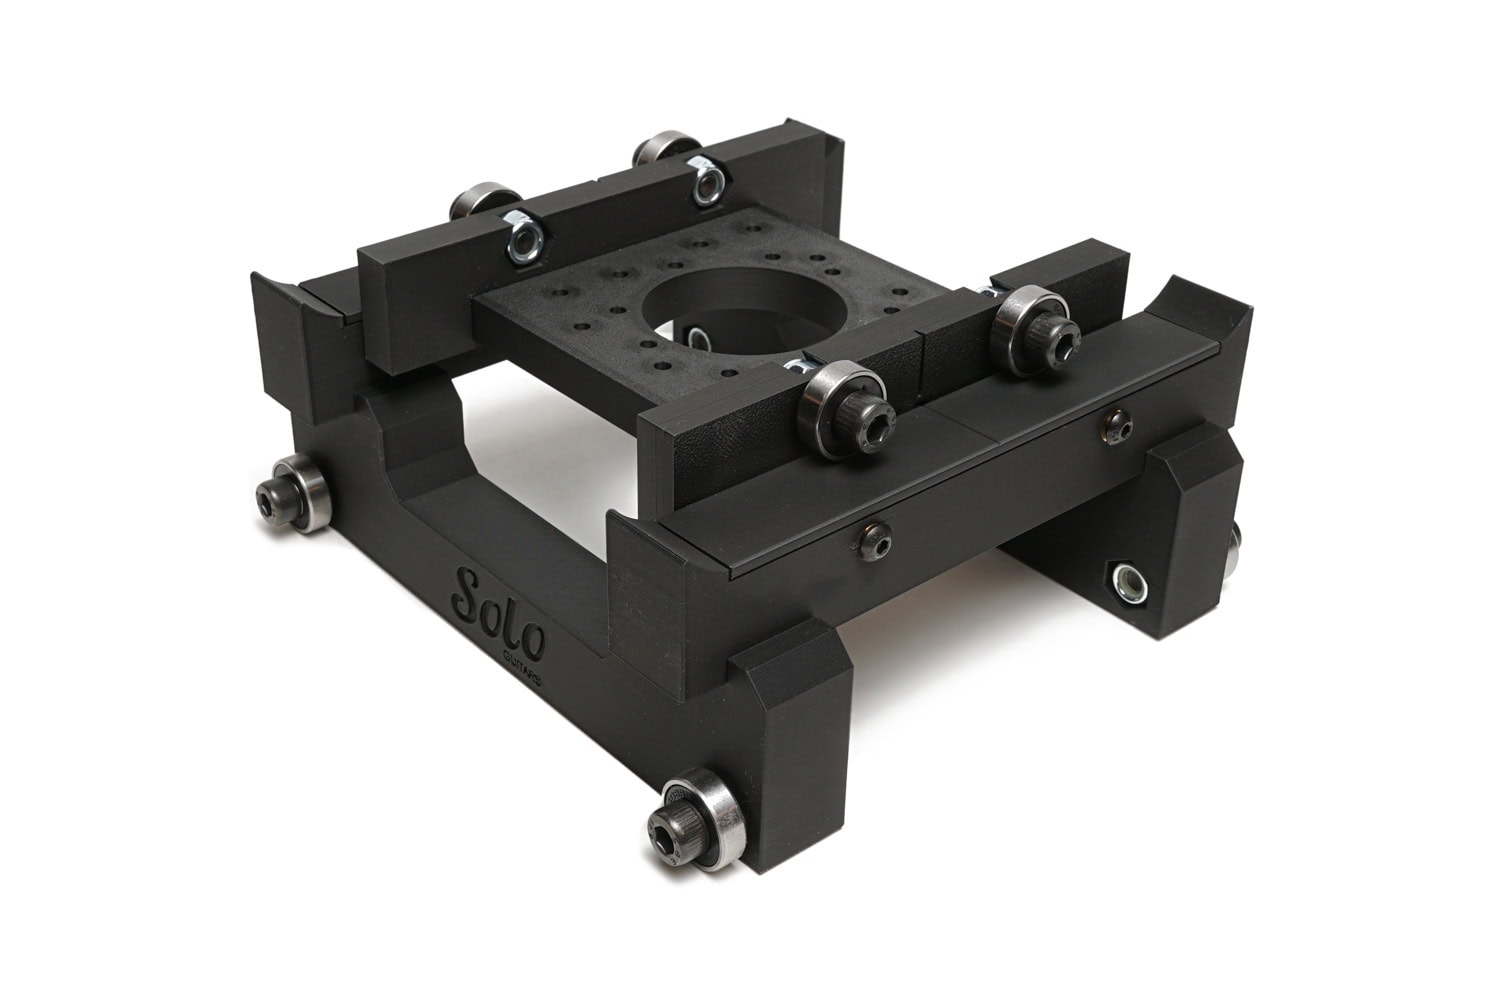
The Solo Fretboard Radius jig provides accurate and consistent fretboard radiusing and is designed to work with fretboards up to 3 inches wide. It’s made to fit popular compact router models such as the Milwaukee M18 Fuel, Ryobi P601 One+, Dewalt DWP611, Bosch PR20EVS, Makita RT0701C, and Ridgid R2401.
We also recommend using a long straight bit with a 3/8″ cutting diameter.
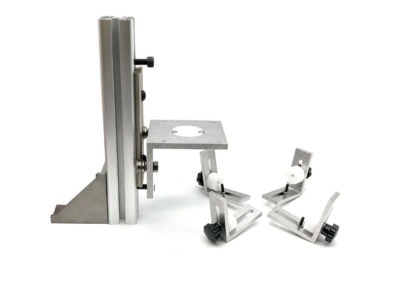
Comes with Fretboard Radius Router Jig body & Router base
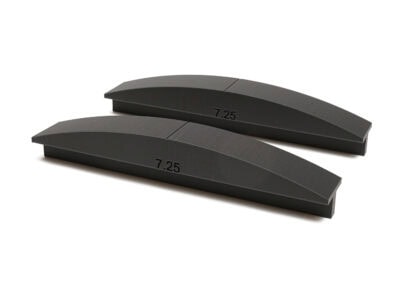
Fretboard Radius Inserts can be purchased here
Instructions:
1. Setting the Height:
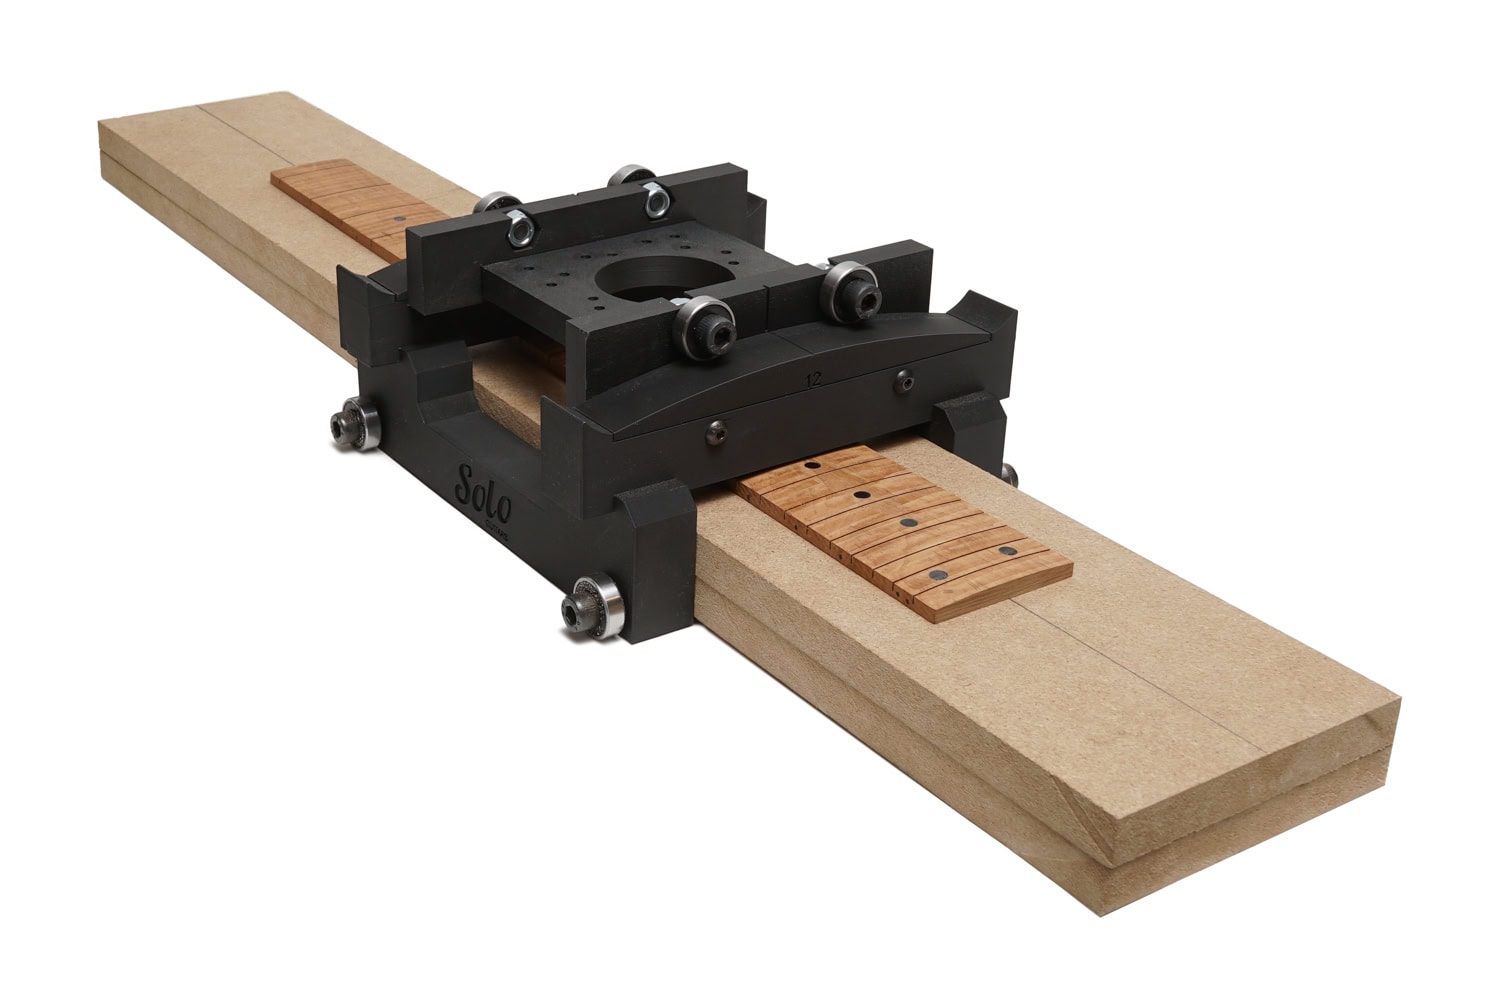
Choose the thickness of your preferred board material (MDF, plywood, or hardwood) such that, when placed on your working surface, there’s a 1.5-inch height from the top of the surface to the top of the fretboard. Importance of 1.5-inch Height: The radius inserts are designed to compensate for the distance from where the router base contacts the radius insert to the top of the fretboard. This height ensures an accurate radius replication. If the setup has a height less than 1.5 inches, there’s a risk that the resulting radius on the fretboard may be rounder than intended.
2. Board Preparation:
Cut the chosen board material to a width of 4.5 inches. Ensure the edges are straight and the board is free from defects.
3. Securing the Materials:
Use double-sided tape to affix the board to your workbench securely.
4. Positioning the Fretboard:
Center the fretboard onto the affixed board, ensuring even spacing on all sides. Once positioned correctly, use double-sided tape to secure the fretboard in place.
Note: Carefully inspect the fretboard to verify there are no raised sections or uneven areas that might interfere with the routing process.
5. Attaching the Jig:
Attach the jig to the router base, ensuring a firm and secure fit.
6. Installing Radius Inserts:
Slide the desired radius inserts into the slot located in the jig’s body. Once properly positioned, tighten the set screws to secure the inserts in place.
7. Placing the Jig Body:
Position the Fretboard Radius Router Jig body onto the setup constructed in steps 1-4.
8. Positioning the Router:
Place the router base onto the jig body, ensuring it aligns correctly and sits stably. Make sure all four bearings on the router base are making contact with the radius insert for accurate routing.
9. Centering the Router:
Align the router using the center lines provided on both the router base and the radius insert.
10. Adjusting the Router Bit:
Carefully lower the router bit until it barely touches the fretboard. We advise against using a spiral bit for this process. Opt for a straight bit for the best results.
11. Starting the Routing Process:
Slide the jig in a manner that the router bit is clear of any wood. With the bit in a clear position, safely turn the router on, readying it for the routing process.
12. Routing the Fretboard:
Begin routing the fretboard. Ensure the router base bearings maintain contact with the radius insert at all times. Move with the grain of the wood. After completing each pass, slide the router base laterally to start a new path, ensuring full coverage of the fretboard surface.
Features
- 3D-printed from durable PLA material, ensuring strength and ease of handling
- Accurate and consistent fretboard radiusing
- Compatible with a variety of router brands
- Interchangable radius inserts can be purchased
: Solo Fretboard Radius Jig
: SL-FBRAD-JG
UPC: 842561016256



george scarlett (verified buyer) –
Hey Folks! I had already purchased a similar jig from another source (Dan—–). As soon as I first looked at the ‘other’ jig, I wondered 🤔 why they didn’t incorporate individual Radius inserts, which meant that when changing radii, you’d have to purchase a carriage for each one!!! With your version, one merely swaps out two inserts, that sell for TWENTYFOUR dollars a set!😱😁😜 BRAVO my friends. I’ve yet to use it due to being “BURIED” in instrument repair, and fabrication for my own needs. You definitely have my AOK (for what it’s worth) Har! God bless you all. G&s guitar shop,
george scarlett (verified buyer) –
Hey Folks! I had already purchased a similar jig from another source (Dan—–). As soon as I first looked at the ‘other’ jig, I wondered 🤔 why they didn’t incorporate individual Radius inserts, which meant that when changing radii, you’d have to purchase a carriage for each one!!! With your version, one merely swaps out two inserts, that sell for TWENTYFOUR dollars a set!😱😁😜 BRAVO my friends. I’ve yet to use it due to being “BURIED” in instrument repair, and fabrication for my own needs. You definitely have my AOK (for what it’s worth) Har! God bless you all. G&s guitar shop,
Simon Pinder (verified buyer) –
Hello. I just put your contrivance to the test.
In 50 years of guitar making, experimenting with various ‘time savers’ that disappoint, this is superb!
The time it would take to make one that risks being wonky out plywood from downloaded specs unless one has a CNC machine isn’t worth the bother when this fully justifies it’s price.
Very well made, however being unfamiliar with the resilience of 3D printed plastics I stuck strips of copper tape on the radius inserts to reduce possible surface wear from the bearings.
It really has saved me so much time.
Bloody Marvellous !
Thank you, Simon Pinder
wgl727 (verified buyer) –
A few years ago, I made an MDF version of this radius jig without the roller bearings – and it worked but only for one radius. This version works for any common radius.
I do criticize the YouTube video associated with this jig for a few reasons:
* You will need to purchase an extra-long router bit for this jig. Solo doesn’t sell a suitable router bit. I found a 3/8th” with over 3″ total length on Amazon.
* If you have already slotted the board, beware of chip-out, especially on the edges.
* Routing from side to side along the length of the fretboard produces an uneven result. Rout along the length.
* Start the routing by taking VERY small amounts from the edges of the fretboard, working your way inwards until you reach the centre. Otherwise, you will get ridges along the length of the fretboard.
* Use a trim router that has fine depth adjustments.
tony.sopata (verified buyer) –
I have to apologize and amend my review of this product. Because I am such an idiot. When you put it together right-side-up, it works wonderfully. So, I sincerely apologize for my previous review, and hereby amend it. If there was a way for me to delete it, I would.