


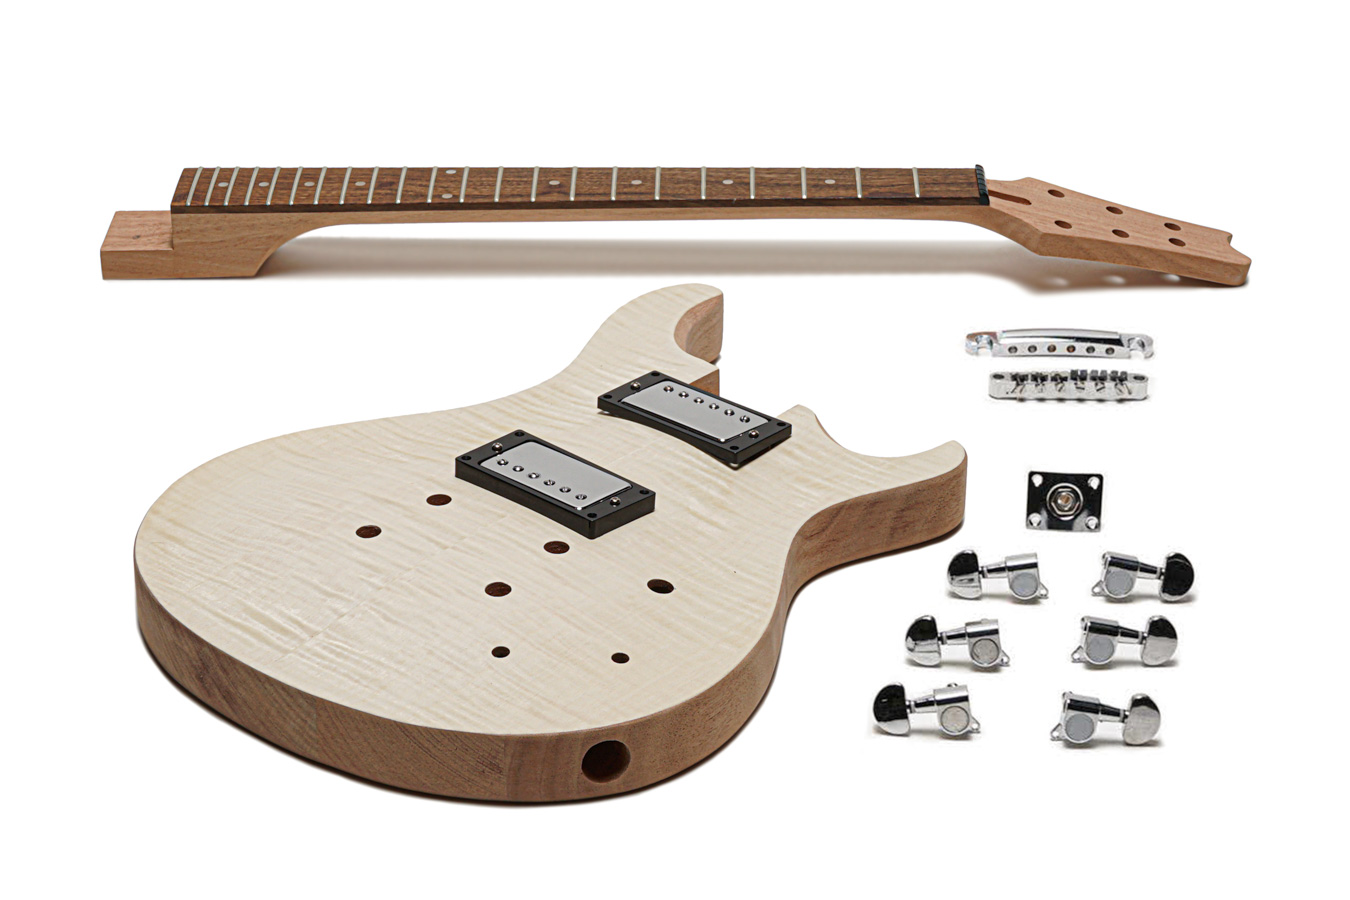


Description
Building a Solo DIY guitar kit can be a rewarding experience. You’ll not only create a custom guitar but also gain valuable skills throughout the process which can be applied to other guitars. Since all the challenging parts such as drilling, shaping, fret leveling and dressing are already taken care of, you’ll just need some basic tools and finishing supplies to complete it.
Manuals: Assembly / Wiring
Recommended tools: Set Neck Assembly Kit
Finishing Options: Nitro, Stain, Oil, Dyes, etc
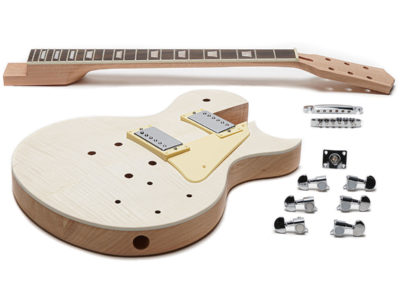
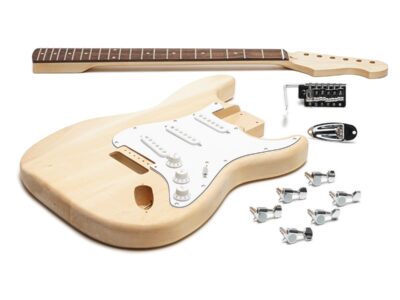
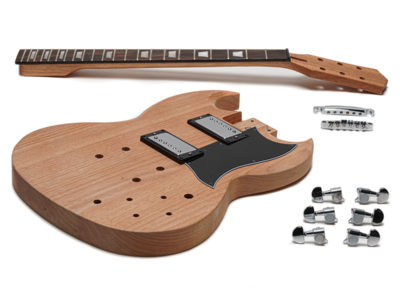
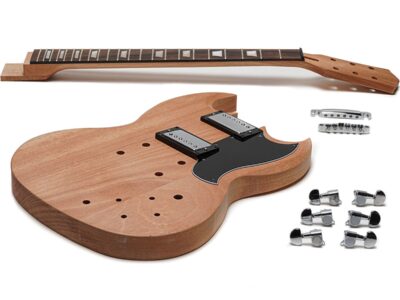
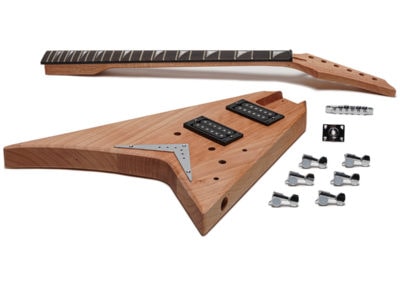
Kit includes:
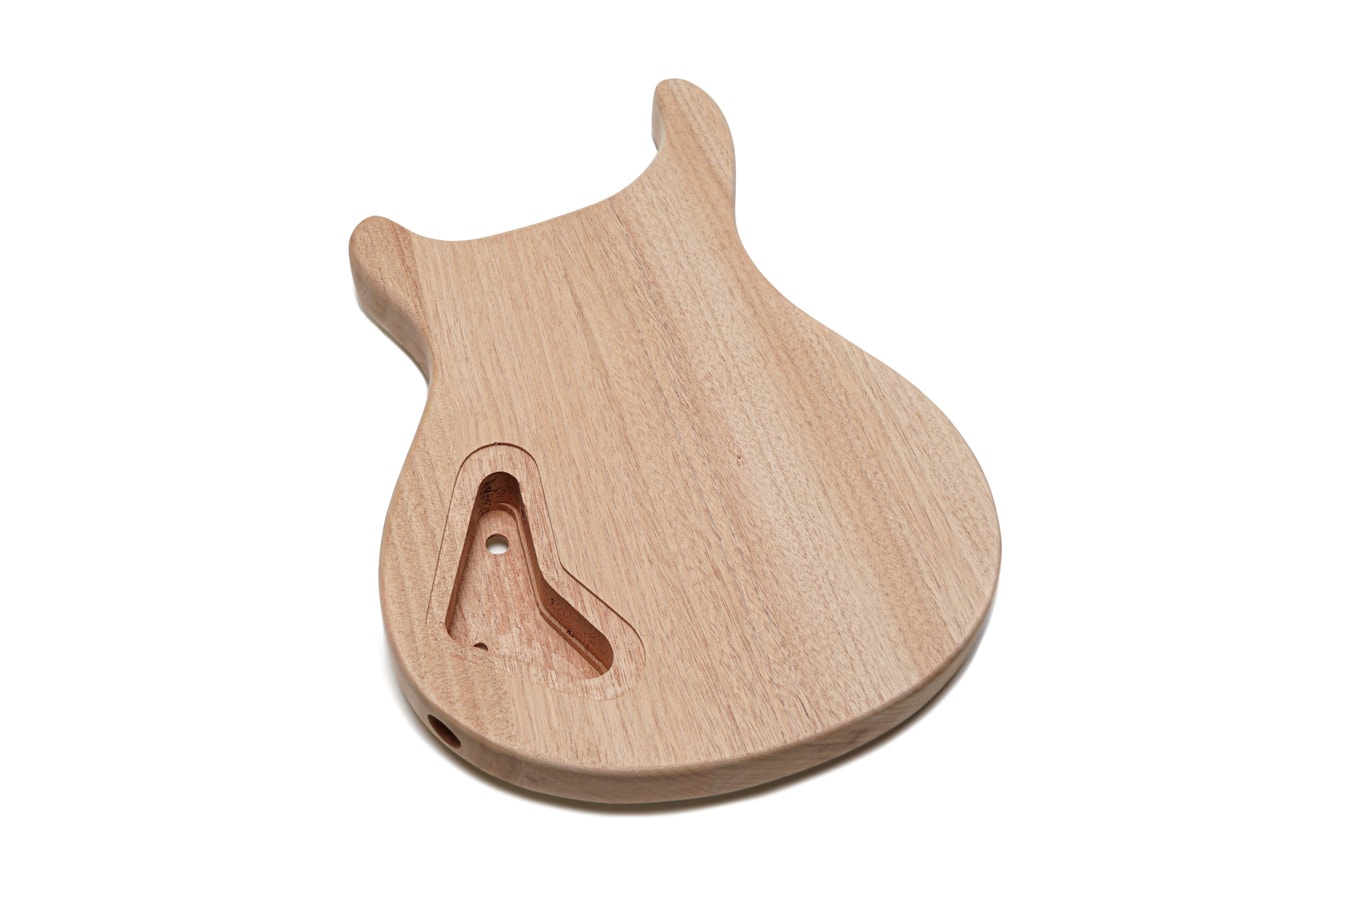
- Unfinished Mahogany body with Flame Maple Veneer top
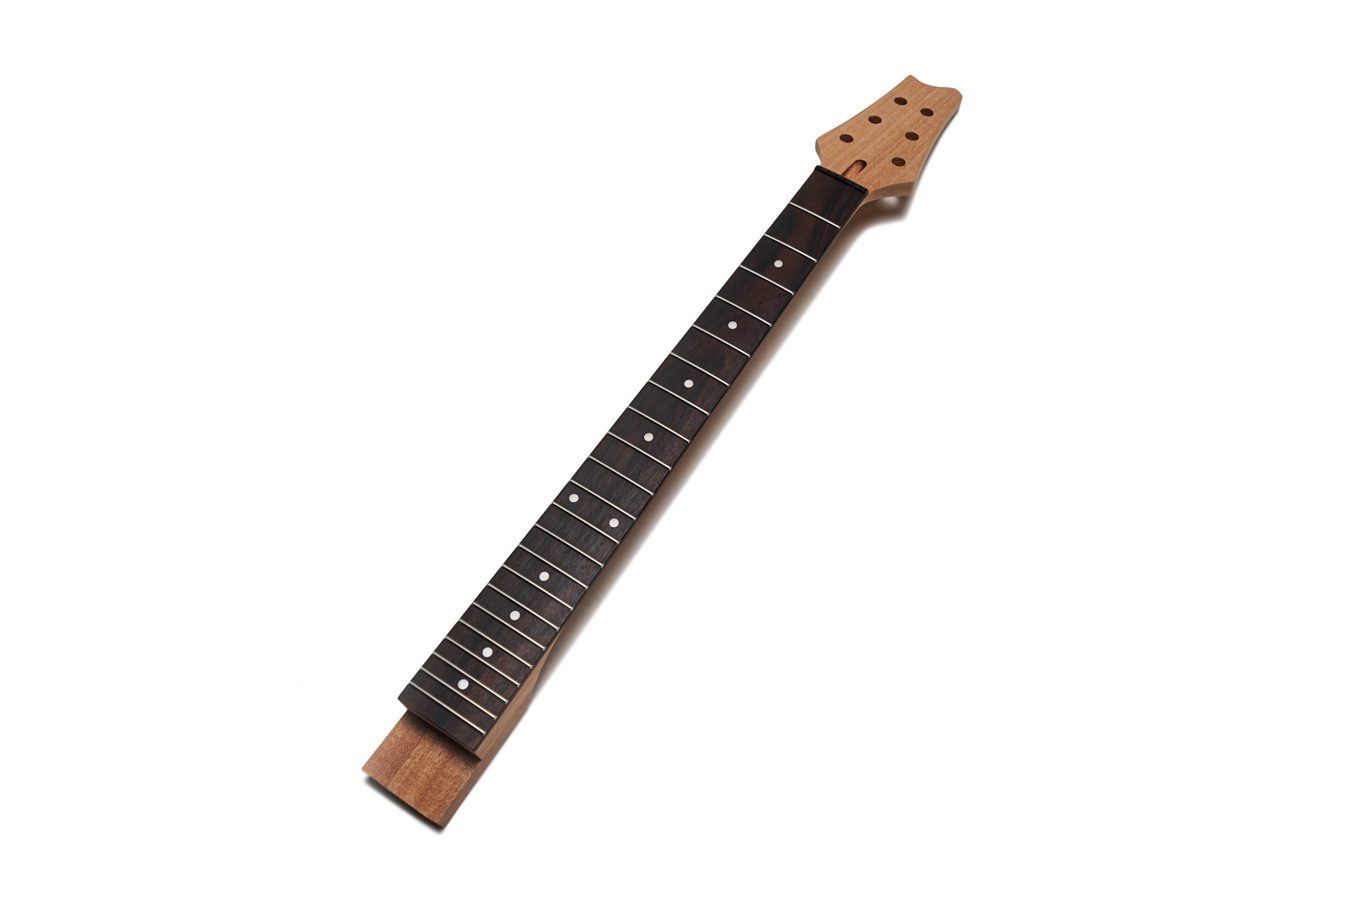
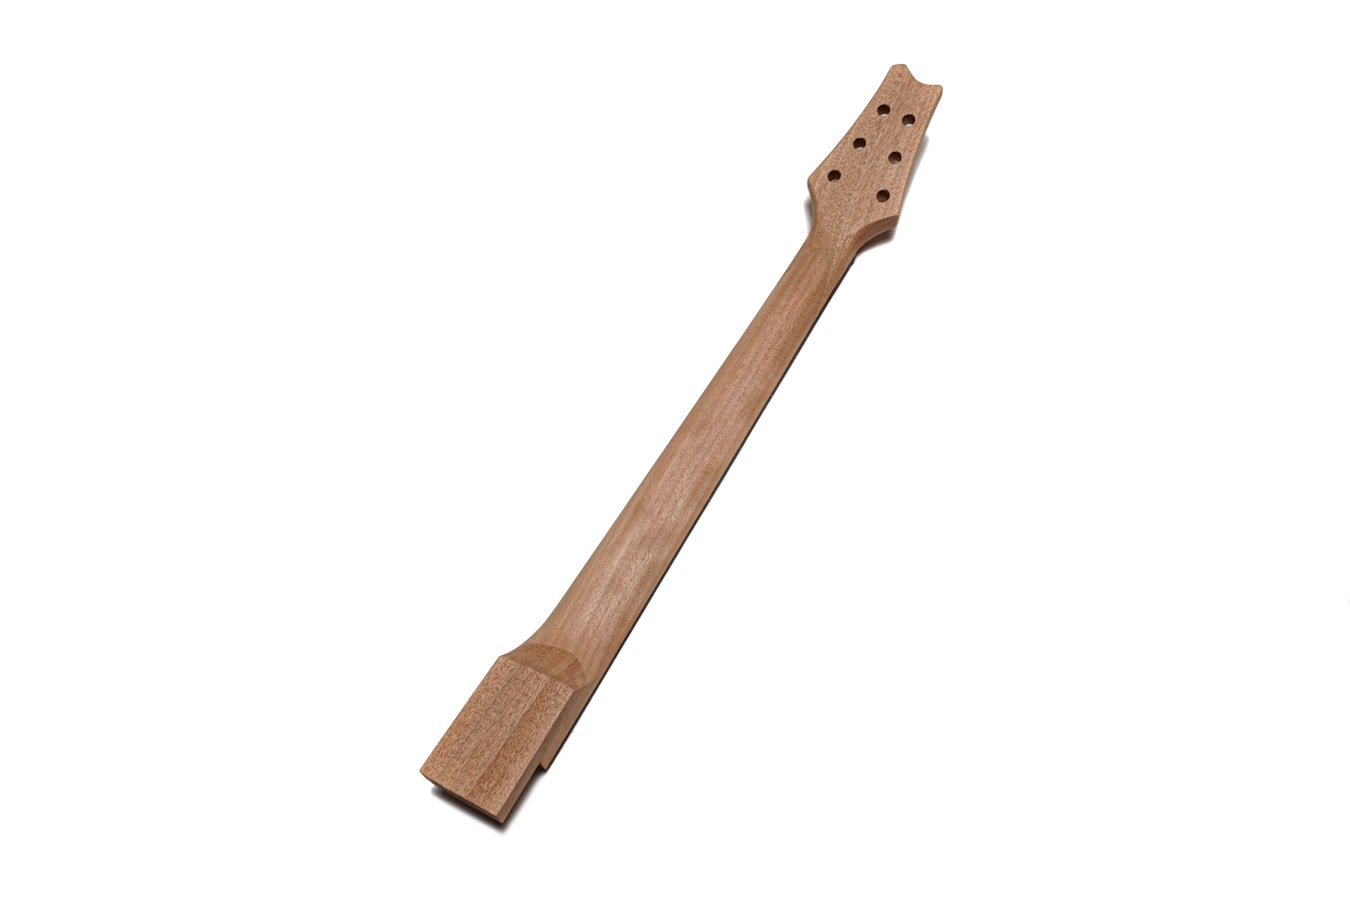
- Unfinished Mahogany neck with with 2-way truss rod
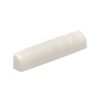
- Rosewood fingerboard
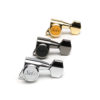
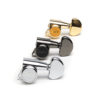
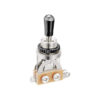
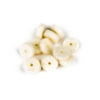
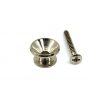
- Machine heads
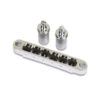
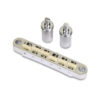
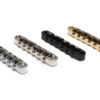
- Tune-o-matic bridge
- Stop bar tailpiece
- Bridge & neck pickups
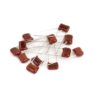
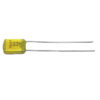
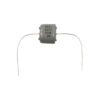
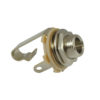
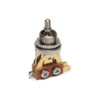
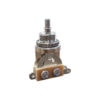
- Pre-wired wiring harness
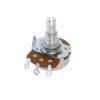
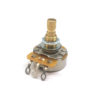
- Full size potentiometers
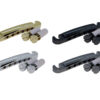
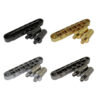
- Chrome plated hardware
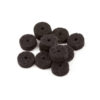
- Black speed knobs
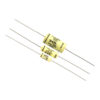
- Jack, truss rod & cavity covers
- Strings
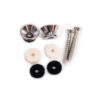
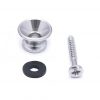
- Strap buttons
- Setup adjustment wrenches
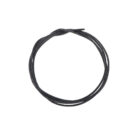
- Guitar cable
- All mounting screws
: Solo PRK-1 DIY Electric Guitar Kit With Carved Body & Flame Maple Top
: PRK-1
Disclaimer: Kits can only be returned in virtually untouched condition and in original packaging


Robert (verified buyer) –
Just finishing up on the finish before putting it together . I went with a Dragon’s Breath finish. It’s looking good. I’ll send pictures when done. Great kit love it.
Aiden Duryba (verified buyer) –
Mine came with the neck a little bit to snug to fit the neck pickup in place so I had to sand that a little bit and the sides of the body were fairly scratched up so I had to sand it down A LOT. Other than that it is a pretty good PRS styled guitar! As far as the kit goes, I would give it 3/5 for the state it came in because of the body scratches and the little neck issue and the nut being just a little too high. On the other hand it plays like a dream so thats why I gave it a final 4/5 stars.
John Cury (verified buyer) –
This is my first guitar build and I ordered the p PRK – 1 kit with flaming maple top shipping was fast and was at my doorstep when I was told it would be. As I opened the box and started pulling out all the pieces the first thing I noticed was the maple top it was bookmatched beautifully. All of the parts were there and in good condition as I pulled it from the box the neck fit exactly the way it was supposed to. I am finishing this guitar with a bright orange transparent water based stain and several coats of nitrocellulose lacquer. I am thoroughly pleased with this kit that I ordered another one. Thanks for a great kit to the folks @solo guitars. You can watch my kit build at ( jas hobbybuilds) on YouTube
stephenmike (verified buyer) –
Just an “unboxing review”. Everything came in excellent condition. I checked out the neck with a notched straight-edge – it was well made. The body was in beautiful condition and the neck fits well. All hardware came in good condition. I will post another review after work is complete.
Timothy Lindsey (verified buyer) –
The kit was complete and a decent wood grain. Went together nicely. Neck was a perfect fit. Had a couple high frets but I had the tools to fix that. I had to do some filing on the bridge because it wouldn’t fit on the posts. Not a big deal. Turned out pretty good. Started out with a yellow stain but messed up so I ended up with a gold top on front and gloss poly on the neck, back, sides, and headstock. Looks pretty good and after setup plays very good. The pickups are what you would expect on a kit priced like this. I believe it is an exceptional kit. I have done 2 other kits from 2 different manufactures and this was worth the money. I ordered another one today.
kfroland (verified buyer) –
Let me start by saying that this was my first guitar kit build. While I have some experience with woodworking, I am far from an expert. I had never custom-dyed flame maple. I had never soldered electronics. I had never set a guitar neck in place. Regardless, I was determined to “give it a go,” and see if I could do it. Ultimately, I think the process went pretty well. From start to finish, the kit went from pieces and parts to a playing guitar in about ten days. Not bad for a rookie.
The first thing I did was take an inventory of the kit parts, and everything was present and accounted for. I decided to finish the neck separately from the body, so I made sure to mask off all the surfaces that were to be glued. I filled the holes in the body with balled up painter’s tape to keep dye and the finish out. Speaking of dye, I used a custom mixed green dye from Keda Dye (www.kedadyeinc.com). Keith was a tremendous help. In the end, it really made the flame maple grain just pop. I finished the guitar body with 12 coats of Tru-Oil, and applied 5 coats of Tru-Oil to the neck. With the Keda dye, the end result was quite nice. The finish was virtually 3-dimensional, as the look and depth of the grain changes as you rotate the guitar into different positions. It is just wild! [FYI – I posted pictures out on the Solo Facebook page.]
When it came time to set the neck, I was quite nervous that I would screw something up. It actually ended up being perfectly aligned when I took my clamps off. The spec says that the neck and headstock are maple, but the grain on the headstock looks more like oak to me. Regardless, the quality was good and the fit was spot on. Once the neck was set, I installed all the hardware in the neck and the body. The tuning machines are a bit tenuous, but they work well enough. The guitar appears to stay in tune fairly well. One area of challenge was mounting the bridge to the two pins that were pounded into the body. They were spaced slightly wider than the holes in the bridge assembly, making it very hard to install the bridge itself. I worked around that by unscrewing the adjustment pins about as far as they would go. This gave me enough “play” to get the bridge onto the pins, and then screw the adjustments down a turn or two at a time, alternating between sides to keep it parallel to the guitar body.
Setting up the guitar to play properly took some time. In addition to the Solo assembly instructions, I had to reference a guitar set-up book I own as well as several YouTube videos. The bottom line is that the finished product is great, and I can really take pride in how it turned out.
Now, for some relatively minor improvements: 1) The assembly documentation is pretty good, but it would be great to see more line drawings and photos (especially for us first-timers), 2) Fix the spacing of the holes for the bridge pins. The tailpiece pins were perfectly spaced. 3) It might be nice to offer kits with upgraded tuning machines and electronics.
I did contact Solo customer service for some advice on soldering the electronics, and they were very helpful.
Overall, building this PRK-1 kit was a fun challenge, and I ended up with a very nice guitar that is unique to me. This was a great experience. I look forward to building another Solo guitar kit in the near future.
13amplifiers (verified buyer) –
This was my first kit. The end result for me was not quite as I had anticipated or wanted, through no fault of Solo Guitars I hasten to add. Let me explain.
First, I decided to stain the body a rich blue colour using Crimson Guitars royal blue stain. A lovely colour. After drying, I sanded it back carefully because the maple top is a veneer and very thin. This may have been my first mistake because it turns out to be insanely easy to over sand at the edges which can be seen at the edges, but which I somehow missed before putting on the finish coats. The finish coats were done with Minwax wipeon poly, a very much thinned version of their polyurethane product. Easy to do but requires many, many coats to build up the finish. Also, if you’re not careful when sanding you’ll go right through the poly to the top and sand it back. A plus with the Minwax wipe on poly was that it brought out the grain in the mahogany on the back and neck very well. So, the upshot of this is that, although the body looks very nice with royal blue accented maple, there are some uneven spots that close inspection will reveal. This is my fault, not Solo’s.
Second, I should have measured the neck scale when I dry fitted it. After gluing and finishing the guitar I found that it was not possible to intonate the instrument because the 12th fret to bridge distance was about a centimeter more than the nut to 12th fret distance. The instrument plays well enough up to about the 7th fret but after that you can begin to hear little out of tune notes. Again, my fault, not Solo’s. Luckily, I don’t usually chord very high up the neck so it should not be a major problem. On my next build however, I will be checking before gluing.
Otherwise, it was a pleasure to assemble and finish this kit. I did run into one other small problem. On this PRK model the pickup switch is located on the sloped part of the body and mounting the switch was a bit tricky. Since the switch is aligned with the plane of the body in the electronics cavity, the washer and nut that hold it in place on the outside also want to align with the plane of the body … except they’re on an inclined surface. Anyway, Dave at Solo was very helpful and suggested tightening it as much as possible and that worked out well for me.
I’m very impressed with the speed with which this kit was delivered to my door. Less than a week. It took Purolator 10 days to deliver an item from a store 750 meters from my house. Also, contacting Solo for assistance was great. Dave was very helpful and even gave me his personal email in case I had any more questions. Hats off to Solo for great service.
I have my second Solo kit, a PRK-10, quilted maple (yumm!) that I will start on in the new year. Looking forward to not make the silly mistakes on the first one.
Peter Matthews –
The kit I bought was a B-Stock deal. I chose that because I had never done a glue-in neck and felt it would be less of a loss if I messed it up. There were a couple of blemishes on the top and the fretboard had a tiny, barely noticeable chunk out of the high E side at the second fret. I made a lot of mistakes on the build and still somehow ended up with a playable guitar. The other small issue I had was that the wood under the string nut wasn’t level and caused the nut to move away from the fretboard under tension. A few minutes with a small file fixed that issue though. There were 3 high frets that had to be dealt with as well, no big deal I’ve purchased regular production guitars with such issues. I darkened the grain with Kiwi Scuff Guard and then stained it with Royal Blue Rit Dye. I messed up with the wipe-on poly not realizing that on a guitar you needed to do like 10-15 super super super thin coats and ended up sanding it back, restaining the blue, and trying an oil finish. Ended up wicking out as much of the oil as I could and then applying the wipe-on poly properly after getting blue on the inside of my forearm every time I played it. The result? The resulting finish makes the guitar look like it’s 25 years old! I couldn’t have done a better relic job if I tried. I have already decided to leave everything the way it is with all the kit parts and then at some point, I’ll build another and use NONE of the kit parts and then compare recordings made with both guitars. Anyhow, I am satisfied with my purchase the kit cost me like $230 bucks and I ended up with a guitar you’d pay at least a hundred bucks more for used in a pawn shop.
stevepavlik (verified buyer) –
Very nice kit. The only thing about it is that the neck sticks up about 1/2″ above the body, and it should be about 1/4″, or just the thickness of the fretboard, so I have the pickups adjusted way up to compensate. The flame top is beautiful and took the dyes very well and everything fit together like a puzzle. I used the stock controls and reconfigured them with the volume knob under the bridge, then the 3-way switch, then two coil tap switches, then then tone in it’s stock position and dropped in Seymour Duncan SH-4b and SH-2n pickups, and it sounds great.
tddelcamp (verified buyer) –
On mine I wasn’t impressed with the flame top. I wish I could pick my own body out from several choices. The neck was a little loose. I had help lining that up. The tail piece holes are slightly miss aligned to the bridge. Far as the hardware I will purchase all new. You get what you pay for. Had fun building my first kit.
tddelcamp (verified buyer) –
Updated Review : I am so sorry to say as a first time builder I did not see that the saddle was not in line with the tailpiece. Holes were drilled off . That makes the strings way off alignment on the neck. My bad for not catching this before finishing the guitar. Seems like a quality control issue as well.
Lyle Siemens –
I ordered a B-stock one. This was my 3rd Solo kit and so happy how it turned out. With patience, upgraded parts and a good understanding of guitars, you can make this play and sound like any $1000+ guitar. I ordered Wilkinson pickups, tuners and a Tusq xl nut from Solo and decided on a roller bridge. The neck fit perfectly and very little work needed to level and crown the frets. I used artist oils for the whole body followed by Gloss wipe-on poly.
Definitely turned out the best so far. Enough to win guitar of the month. Thanks Solo for your excellent customer service and help!!
mhilberg53 –
This PRS style was my first ever guitar kit build. I am so happy with the results. There were a couple of mistakes with the finishing, but nothing serious. Assembly was straightforward. I went with all black hardware and I really like it. I was expecting to spend a lot of time with setup and tweaking, but was pleasantly surprised that there was very little to do with setting the action and intonation. I love this guitar.
Joseph Nelson (verified buyer) –
OK so some things to consider:
I will admit this was my first guitar kit build ever. So keep that in mind if you are reading this review.
The instructions on the website do not match the parts that were given to me. So I had to look up the exact model number, and find a third party YouTube video to complete the build.
But construction wise, it seemed like a solid guitar to me and it plays well. But it would be great if solo could update the specs and manual on this particular model. And also provide the wiring diagram in color.