


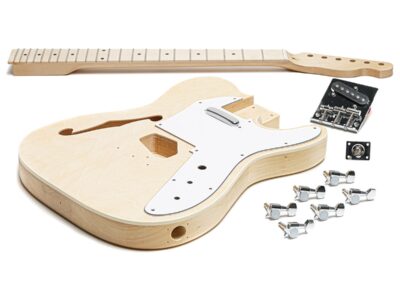
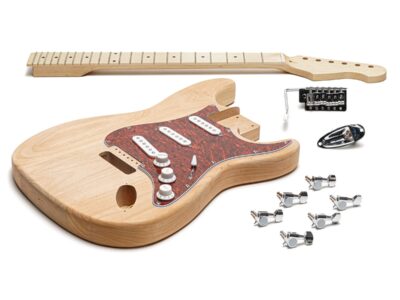
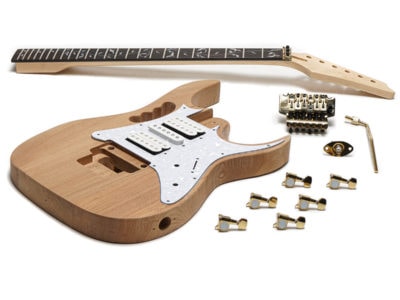
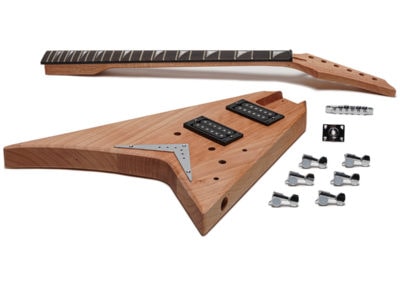
Description
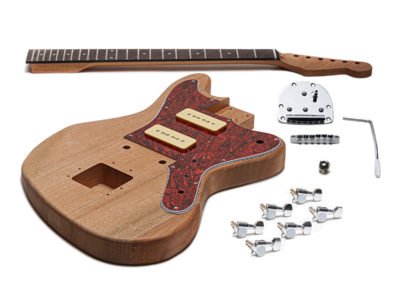
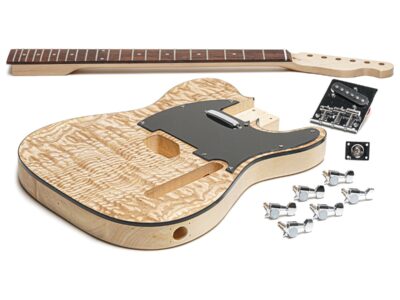
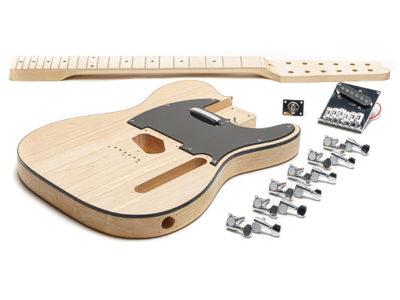
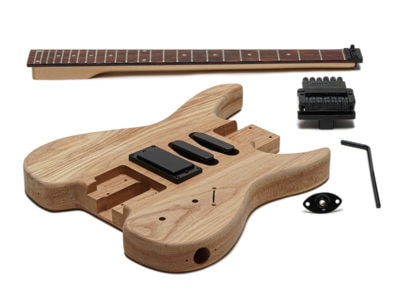
This DIY guitar kit has everything you need for building your own TC Style Electric Guitar. You will only need some basic tools and finishing supplies. This kit includes all parts and step-by-step instructions to build a complete, playable custom guitar. All challenging wood cutting, drilling and shaping has already been professionally done, as well as fret leveling and dressing.
Recommended tools: Solo Guitar Assembly Kit Bolt-on Neck
Kit includes:
- Unfinished Basswood body
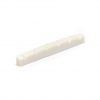
- Unfinished maple neck with Rosewood fingerboard
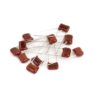
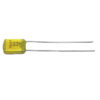
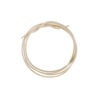
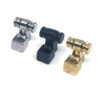
- Solderless wiring
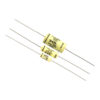
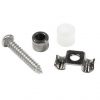
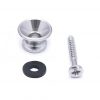
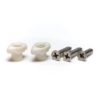
- Hex threaded peghead bushings with washers
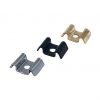
- String Retainers
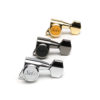
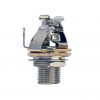
- Tuning Machines
- Strings
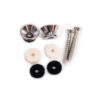
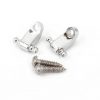
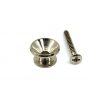
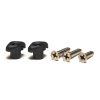
- Strap Buttons
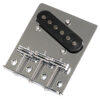
- Pickguard Assembly
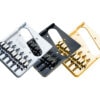
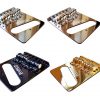
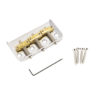
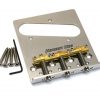
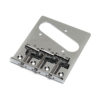
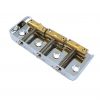
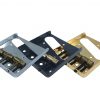
- Bridge Assembly
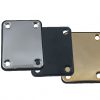
- Neck Plate
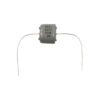
- Control Plate Assembly
- Full size potentiometers
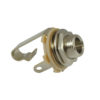
- Jack plate (2 mounting screws included)
- Ground Wire
- Cord
- Hex wrench for truss-rod adjustment
- Allen Key for saddle height adjustment
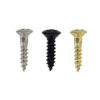
- All mounting screws are included
IMPORTANT (in addition to our standard return policy): due to their nature kits can be returned only in virtually untouched condition and in original package.


drtank (verified owner) –
I decided to purchase a solderless-connection version of the TCK-10 rather than the conventional kit because, although I have soldered the electrics of several kits, the act of soldering is not something I enjoy. And I had proved I could do it. So why not elect the simpler alternative this time? Ordering went smoothly, as usual, but delivery of the kit was drawn out over 12 days, partly due to my having placed the order the day before a holiday weekend but mostly resulting from a Fed-Ex system that toted the kit around Florida for several days before delivering it. Everything expected was present in the kit and in very good condition. One of the two containers of black conductive shielding paint that I ordered was missing, but Solo remedied that omission soon after I reported it. I test-fitted everything. The neck was acceptably aligned and elevated, but I had to patiently sand the end of the tenon, which initially would not sit within a quarter inch of the mortise wall. Relatedly the mortise bay of the pickguard had to be Dremeled back about an eighth of an inch to accommodate the tenon. I sanded the wood finish of the neck and body with #220, #320, and #400 sandpaper. Even after nearly all areas were silky smooth, there were two sizeable spots on the basswood back of the guitar that would never even out. Rough wood remained even with sustained re-sanding. I finally had to stop the triage efforts to avoid creating visible valleys in the basswood. Those intractable areas, which apparently are immutable characteristics of the body wood, look fine as finished. They simply will never be as smooth as the rest of the surface. Perhaps exceptionally heavy applications of wood-grain filler would have helped, but past experience has shown me that such a solution can become a long and winding road. I had to drill new holes for the neck bridge plate because the predrilled holes were not usable given the limit of forward placement of the underlying bridge pickup – not a big problem. I also had to slightly modify the location of the one predrilled screw hole for the control plate. The original drillings were just slightly too far apart to permit installation of the plate. The remainder of the predrilled holes seemed to be perfectly placed and sized. The solderless connectors worked precisely as expected, with the volume, tone, and pickup selector delivering quite well. To display the inherent beauty of the ash burl top and basswood sides and back, I carefully applied six ample (viscous) coats of Tru-oil finish, using a 1-inch foam-rubber brush. I had to be careful because thick coats hide no sins. The result is a perfect semigloss with the thickness of at least a dozen conventionally thin applications. The top of the headstock also received a Tru-oil finish, and the bottom of the neck and headstock was stained with a water-base-friendly semigloss black stain. I upgraded the control plate knobs, the tuning heads, and the strap locks/buttons to red ones, to accent the beauty of the guitar. A black strap with red accents topped off the opus. After filing down the predictably high nut slots and setting relief and intonation, the lute was ready to go. I have to admit that it plays as beautifully as any electric guitar I have ever owned or used. Building it conferred a
sense of pride and joy.
Tommy Harris (verified owner) –
I had alot of fun building this kit. There were a few things I thought were going to be troublesome at first but turned out to be no issue at all. If you buy the solderless kit, It seems like the plugs don’t quite fit but they just have to be turned the right way and worked with a bit. I took a Dremel and cleaned up the routing, sanded the body down with 800 grit paper. Mixed some grain filler with black stain and filled the grain in. Then I gave it a final sanding with 1000 grit and it was ready to stain. The Tone Pro stain went on really smoothly. I cleared it with Nitrocellulose Satin lacquer and it was ready to go. The neck was already really smooth. I did a quick fret level, rounded them back out and buffed them to a sheen. Then I taped and stained the neck red as well. Put the same Satin clear on it. I assembled the guitar and it played beautifully. The pick-ups sound great! It really has that Tele tone. I’ll definitely get another kit from here!